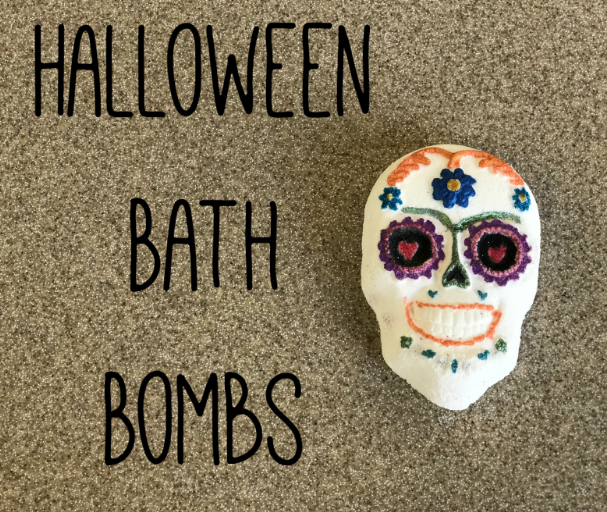
Halloween Bath Bombs Recipe
Are you searching for a fun and easy project to do with the kids this Halloween that isn’t slime? Look no further! This project is quick and perfect for the bath bomb beginner. Since I wanted children to be included in this project, I kept my basic bath bomb mixture colorless and fragrance-free to help minimize any mess. As always, feel free to make this recipe your own!
Here’s what you’ll need:
2 C. Citric acid
4 C. Sodium bicarbonate (baking soda)
Spray bottle with water
Optional:
.5 oz. Fragrance oil
Glitter
Rubbing alcohol
Small paint brushes
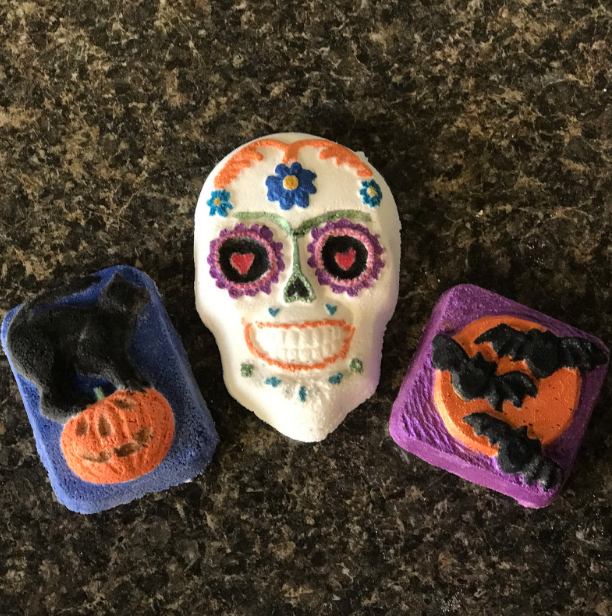
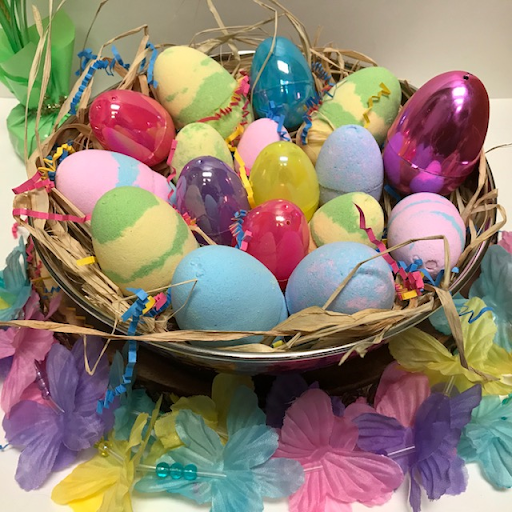
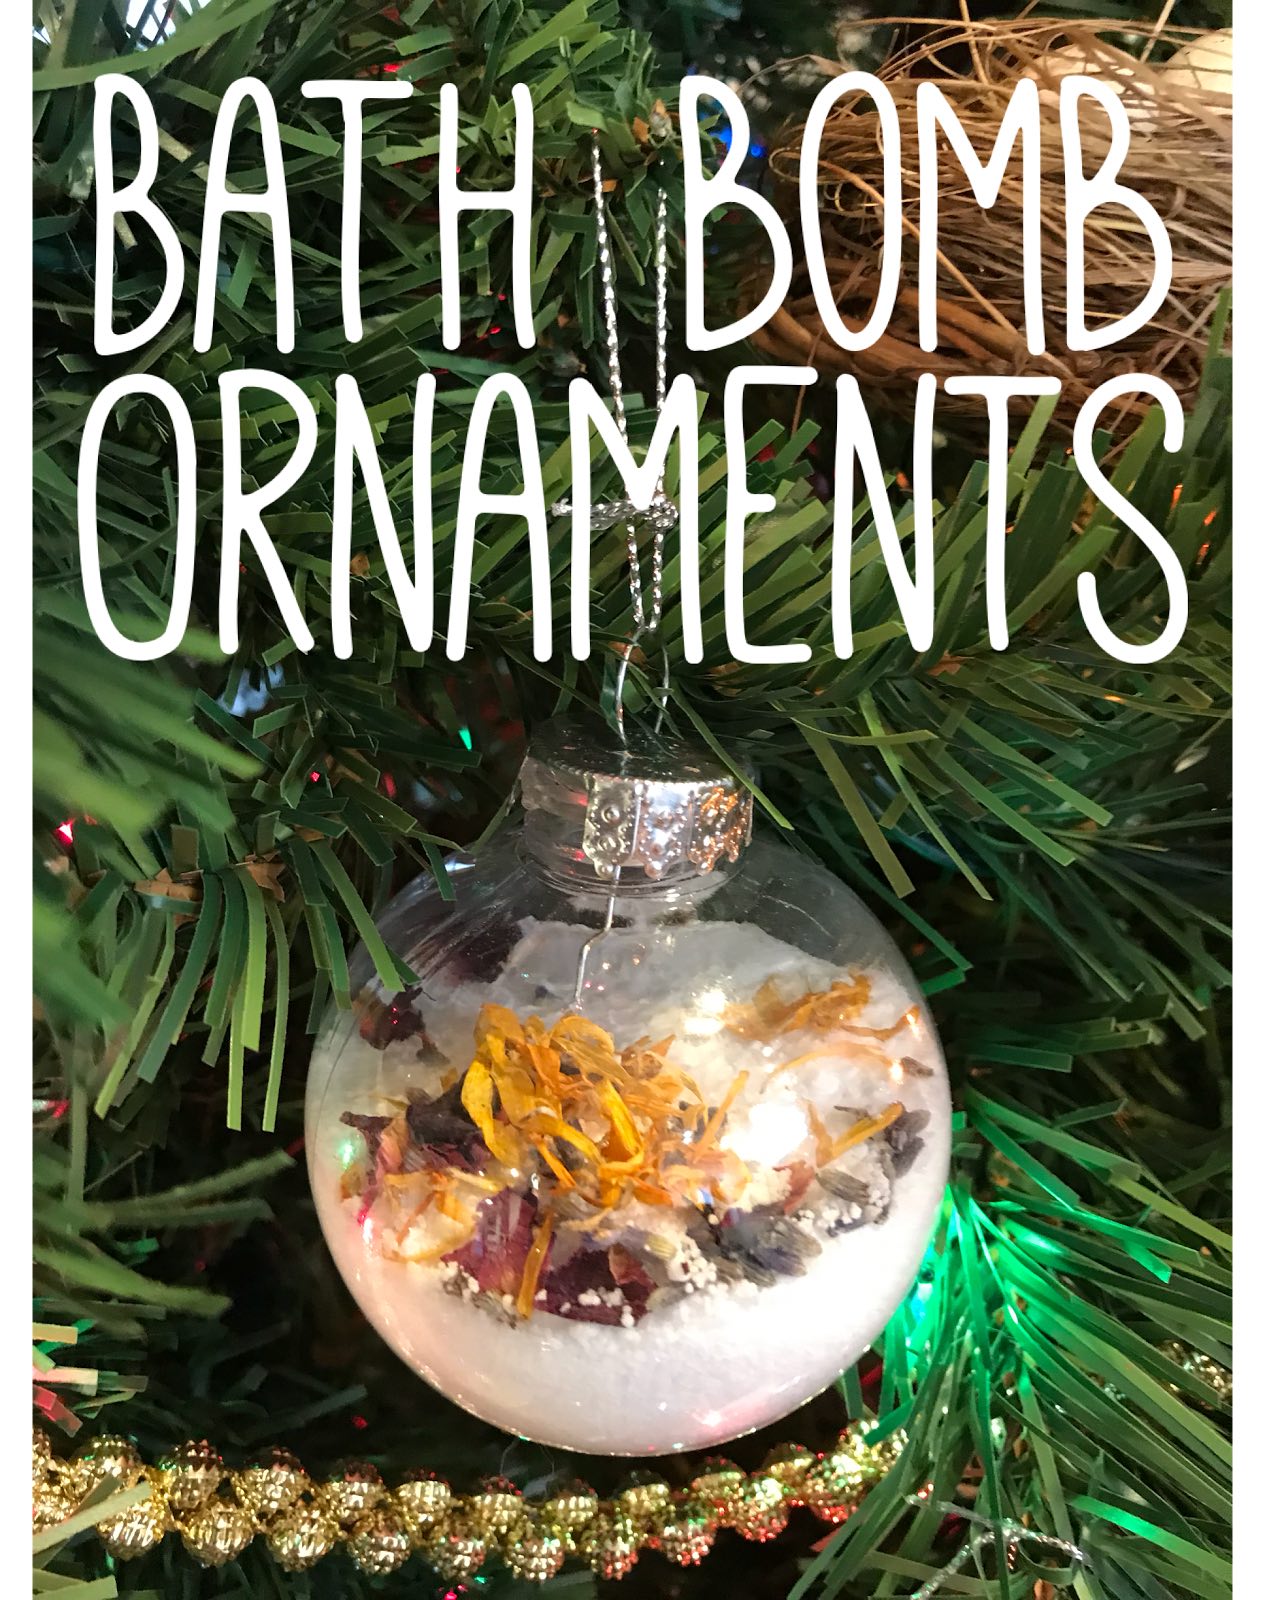
I used a variety of Halloween soap molds to make for a really neat bath bomb that doesn’t have the classic round bath bomb look. You can even jazz them up by adding things like color, glitter or botanicals. I made some plain, some with flower petals and buds, some with glitter, and some with “paint” I made out of pigment powder. The possibilities are almost endless!
The general rule of thumb for bath bombs is a ratio of one part citric acid to two parts sodium bicarbonate. Combine the ingredients in a medium to large size mixing bowl. For children, I recommend using a large wooden spoon to mix the ingredients. This can also be done by hand, but children should be supervised.

After the dry ingredients have been evenly mixed, it’s time to start misting the bath bomb mix with water. Using a small spray bottle, pump a few mists of water onto the mixture at a time. It is crucial to hold the spray bottle about 8-12 inches away from the bowl because if the water droplets hit the mixture with too much force, the citric acid will activate and the bath bombs will begin to sizzle before even making it to the bath tub!
Do you see how the mixture is wet enough to clump in my hand without breaking? This is the consistency you’ll want to achieve. It may take quite a few sprays of water (anywhere up to 30 or 50) to reach the desired texture. Remember to work the moisture through the dry mixture thoroughly.
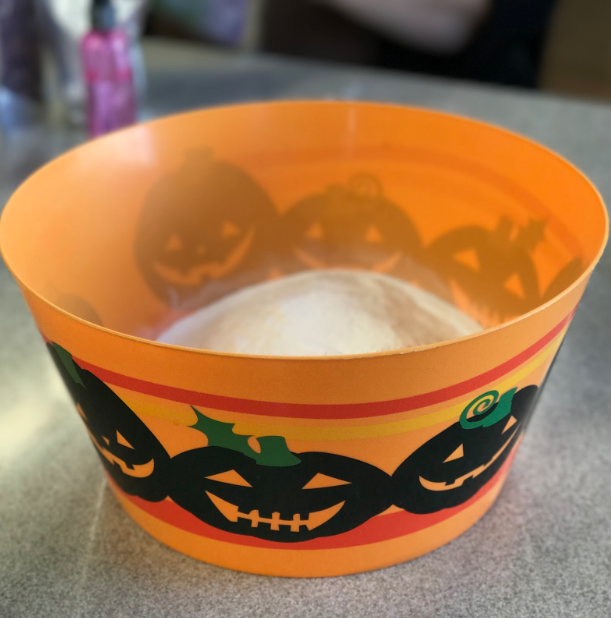
When the mixture is ready, it is time to start packing it into the molds. Be sure to pack the mixture tightly into the mold and wait five minutes before flipping the mold over. The bath bomb will not stick to the mold, so handle with care when you are removing them!
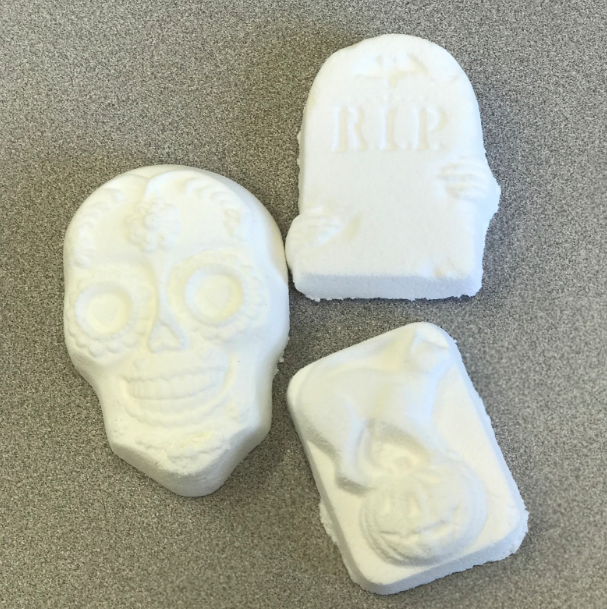
Don’t they look cool? I got a little extra creative and decided to do some mica painting on some of the bath bombs. Have you ever made holiday-themed bath bombs? Have you ever done mica painting? Leave us a note below – we would love to hear from you. Enjoy! <3